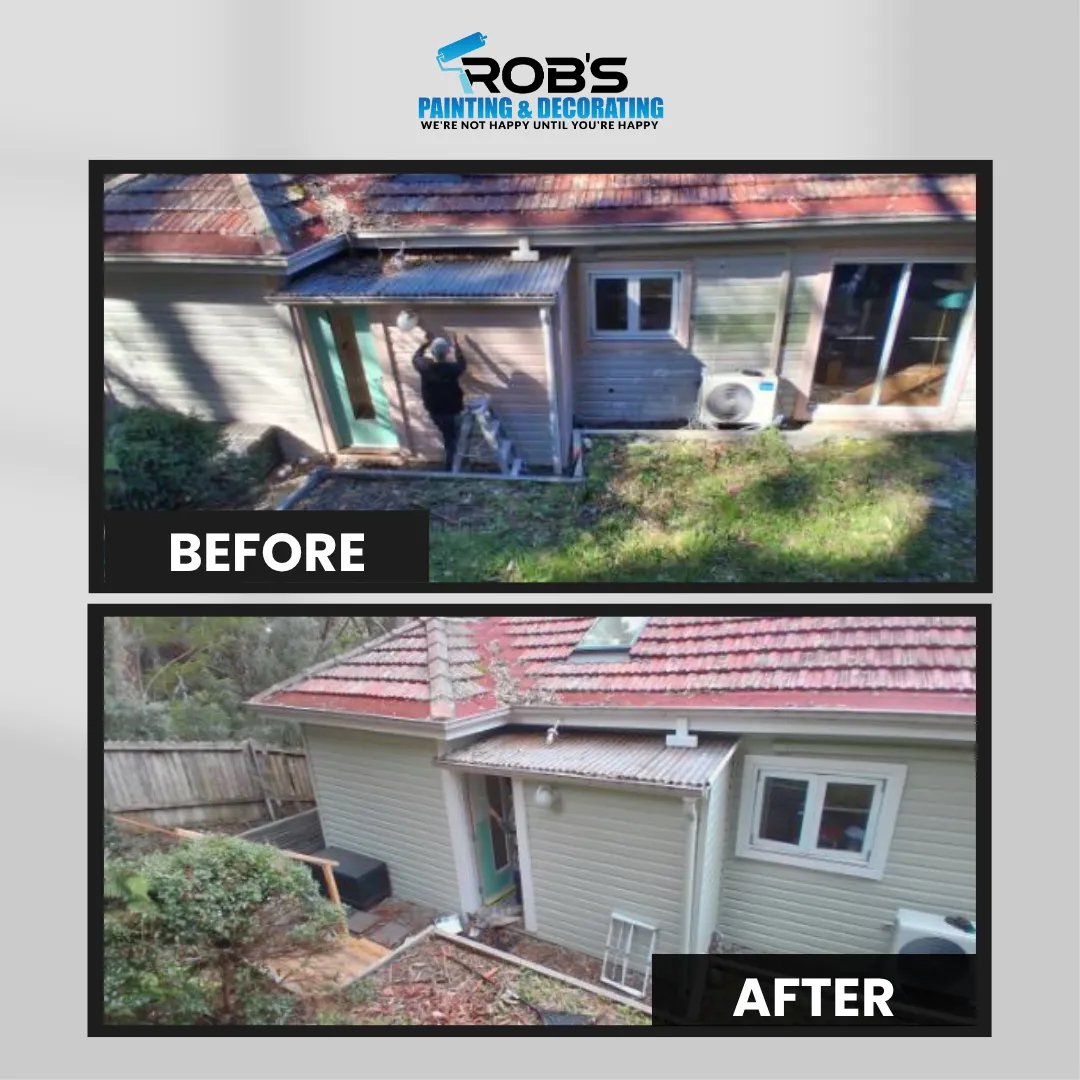
How to Repair and Prepare Exterior Surfaces Before Painting
A fresh coat of exterior paint can completely change the appearance of a home, but the finished result depends heavily on what happens before the paint tin is opened.
Exterior surfaces are exposed to sun, rain, wind, moisture and everyday wear. Over time, paint can crack, peel, bubble or begin separating from the surface underneath. Timber can weather, small gaps can appear and previously repaired areas can become visible again.
Painting directly over these problems might make the surface look better temporarily, but it usually will not create the smooth, long-lasting finish most homeowners are hoping for.
Good exterior painting starts with good preparation.
Inspect the Surface Before You Begin
Before painting, take some time to look closely at the area.
A surface that appears fine from a distance may show quite a few issues once you stand closer. Look for cracking, flaking paint, bubbling, exposed timber, gaps around joins, loose material, water staining and damaged areas.
Pay particular attention around windows, doors, fascia boards, trims, gutters and other places where water or weather exposure may be greater.
Finding these problems before painting allows you to deal with them properly rather than discovering them halfway through the job.
Remove Loose or Flaking Paint
Fresh paint needs a sound surface underneath it.
If existing paint is already loose, peeling or flaking, applying another coat over the top will not make the loose layer secure again. Any material that is no longer properly attached should be removed.
This may involve scraping, sanding or carefully preparing the edges between sound paint and the exposed surface.
The goal is not necessarily to strip every previous coating from the building. It is to remove unstable material and create a firm, smooth base for the next stage.
Once loose paint has been removed, the edges should be feathered or smoothed so they are less likely to show through the finished coating.
Repair Cracks and Small Holes
Small cracks, holes and damaged areas can become much more obvious once fresh paint is applied.
Where appropriate, these should be repaired using a product suitable for the particular exterior surface. The repair should be allowed to dry properly before sanding or painting.
Trying to rush this stage can leave raised patches or visible edges under the finish.
After sanding, run your hand over the repair. If you can clearly feel the edge, there is a good chance you may also see it once the area has been painted.
Pay Special Attention to Timber
Exterior timber often needs more preparation than a sound masonry surface.
Doors, window frames, fascia boards and timber trims can deteriorate if protective coatings begin to fail. Look for splitting, cracking, exposed timber or soft areas.
Damaged or rotten timber may need repairing before painting begins. Simply covering deteriorated material with another coat of paint does not fix the problem underneath.
Bare timber may also need a suitable primer before the finishing coats are applied.
Clean Before Painting
Even a structurally sound surface can still have problems if it is dirty.
Exterior walls collect dust, grime, cobwebs, mould, pollution and other contaminants. Painting over these can interfere with adhesion.
The surface should be properly cleaned and allowed to dry before painting.
Extra attention may be needed in areas where mould, mildew or organic growth is present. It is also important to investigate why an area repeatedly becomes damp or mouldy rather than simply painting over it.
Look for Moisture Problems
Peeling, bubbling or blistering paint may be a sign of moisture getting behind the coating.
Before repainting, look for possible causes such as leaking gutters, damaged downpipes, water entering around windows or poor drainage.
Repainting without dealing with the moisture source can result in the same paint problem returning.
This is particularly important with exterior walls because repeated weather exposure can make a small moisture problem worse over time.
Sand Rough or Glossy Areas
Sanding can help smooth repairs, remove minor imperfections and prepare certain existing coatings for repainting.
The amount of sanding required will depend on the surface and its condition. After sanding, all dust should be removed.
Dust left behind can affect the finish and prevent the new coating from bonding properly.
Use Primer Where It Is Needed
Primer plays an important role on many exterior surfaces.
Bare timber, patched sections, repaired areas and some previously painted surfaces may require primer before the finishing coats.
Primer can help create a more even base, improve adhesion and prepare porous or repaired areas so they behave more consistently when paint is applied.
Using the correct product for the surface is important.
Do Not Rush Drying Time
Preparation products need time to dry just like paint does.
Fillers, repairs, cleaned surfaces and primers should all be given adequate drying time.
Painting too soon can trap moisture or disturb materials that have not fully hardened. Weather conditions also matter, particularly outside.
Rain, humidity and temperature can all affect how long preparation and coatings take to dry.
Good Preparation Is What Makes the Finish Last
Exterior painting is not just about adding colour.
The paint system is also helping protect the material underneath. Scraping loose coatings, repairing damage, cleaning the surface, sanding and priming may take time, but these steps give the finished paint the best chance of looking good and performing well.
A professional-looking exterior usually begins long before the first finishing coat is applied.
