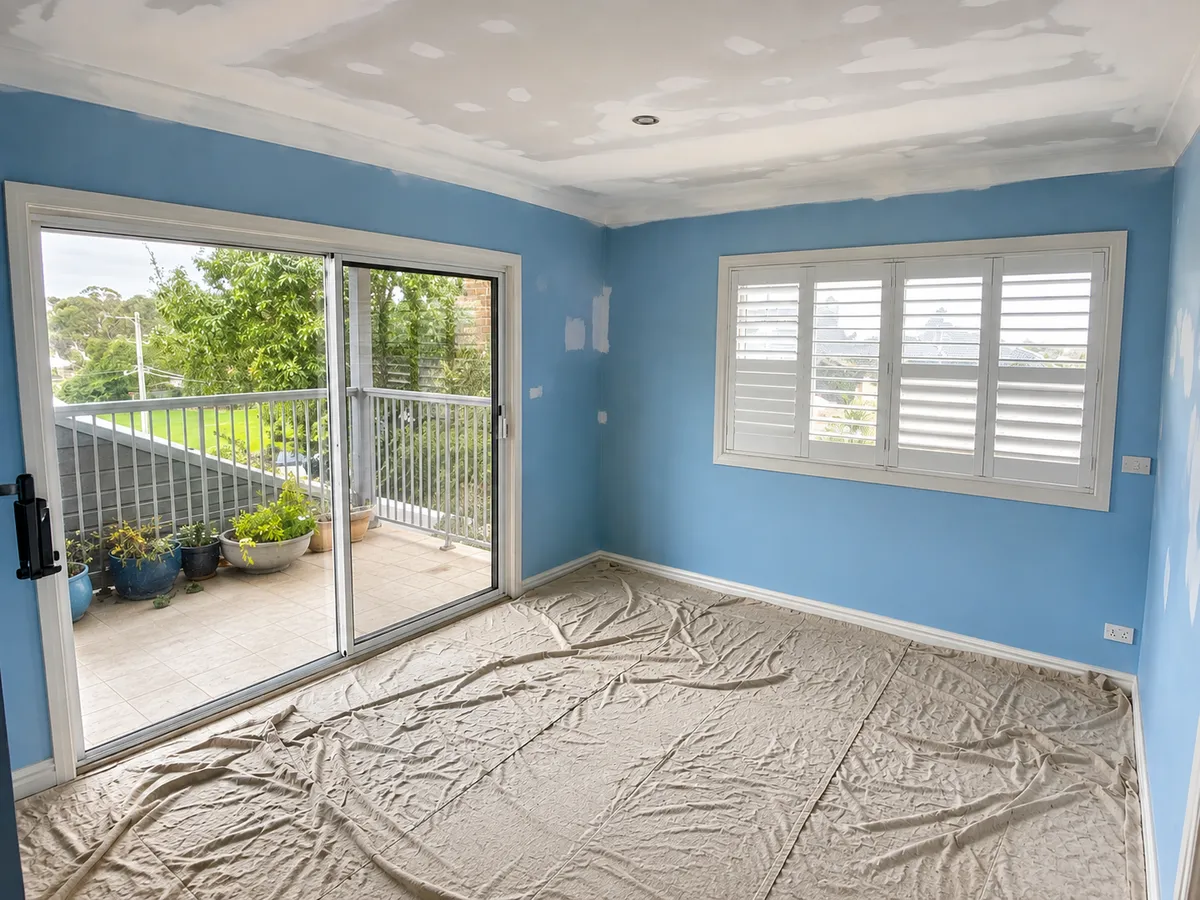
How to Prepare a Room Before Painting
Preparation is one of the biggest differences between a rushed paint job and a neat, professional-looking result.
It can be tempting to grab a brush or roller and start painting straight away, especially when you're keen to see a room transformed. But taking the time to prepare the room properly can make the painting process smoother, help the finish look better and reduce the risk of problems later.
A good paint job starts well before the first coat goes on.
Here are some of the most important steps to take before painting an interior room.
Clear the Space
The first step is to give yourself as much working room as possible.
Move furniture, decorations, rugs, lamps, artwork and other items out of the room where practical. The fewer obstacles in the space, the easier it is to move ladders, rollers, brushes and paint trays around safely.
If larger pieces of furniture cannot be removed completely, move them towards the centre of the room so there is plenty of space around the walls.
Clearing the room also reduces the chance of accidentally splashing paint onto furniture or knocking something over while working.
Don't forget smaller items such as:
Curtains and blinds where necessary
Wall art and mirrors
Shelves and removable fittings
Floor lamps
Decorative items
Indoor plants
Rugs and mats
A clear workspace makes the entire job easier.
Protect Floors and Remaining Furniture
Even careful painters can have drips and splashes.
Before opening a tin of paint, protect the floor and any furniture that needs to remain in the room.
Drop cloths, canvas sheets and protective plastic sheeting can all help prevent paint from reaching flooring, carpets and furniture.
Pay particular attention to areas directly beneath the walls and around doors, as these are often where splashes occur.
If you're using plastic sheeting, make sure it is secured properly so it doesn't move while you're walking around the room. Loose coverings can become a trip hazard.
Protecting the room properly before painting begins is usually much easier than trying to clean dried paint afterwards.
Remove Switch Plates and Hardware
Painting carefully around light switches, power points, door handles and other fixtures might seem quicker, but it often produces a less tidy finish.
Where practical, remove switch plates and other removable hardware before painting.
This allows the paint to reach cleanly to the edges and avoids paint building up around the fixture.
You may want to remove items such as:
Light switch covers
Power point covers
Door handles
Curtain brackets
Hooks
Removable wall fittings
Keep screws and small parts together in labelled containers or zip-lock bags so you know exactly where they belong when it is time to reinstall them.
Taking a quick photo before removing fittings can also be useful if you're worried about remembering how everything was positioned.
For anything electrical, make sure the power is isolated where required and avoid interfering with wiring unless you're qualified to do so.
Clean the Walls
Walls often look cleaner than they really are.
Over time they can collect dust, fingerprints, grease, cooking residue and other contaminants that may affect how well the paint adheres to the surface.
This is particularly important in areas such as:
Kitchens
Hallways
Children's rooms
Around light switches
Near doorways
Laundry areas
Before painting, wipe the walls down and allow them to dry completely.
The level of cleaning required will depend on the condition of the surface, but the goal is simple: paint should be applied to a clean, dry and sound surface.
Painting directly over dirt or grease can affect the final finish and may lead to adhesion problems.
Fill Holes, Cracks and Imperfections
Once the walls are clean, take a close look at the surface.
Small nail holes, dents, chips and minor cracks can become much more noticeable after fresh paint is applied.
These imperfections should usually be repaired before painting.
Fill damaged areas with a suitable filler, allow it to dry and then sand it smooth so the repaired section blends into the surrounding wall.
Run your hand over the repaired area after sanding. If you can still feel a raised edge or hollow section, there's a good chance you'll be able to see it once the wall is painted.
Good preparation is about creating as even a surface as possible before applying the finish coats.
Deal With Loose or Damaged Paint
If the existing paint is peeling, bubbling, cracking or flaking, simply painting over it will not fix the underlying problem.
Loose material needs to be removed before new paint is applied.
The area should then be cleaned, repaired if necessary and allowed to dry properly.
There may also be a reason the existing paint has failed.
Moisture, water leaks, poor previous preparation, surface contamination or incompatible coatings can all contribute to paint problems.
If the underlying cause is not corrected, the new coating may eventually fail in the same area.
This is particularly important in bathrooms, laundries and areas exposed to moisture.
Sand Where Necessary
Sanding helps smooth repaired areas and can also help new paint adhere to existing surfaces.
Glossy surfaces in particular may need to be lightly sanded before repainting.
The aim isn't necessarily to remove all the existing paint. Instead, sanding can help create a smoother, more suitable surface for the new coating.
After sanding, remove the dust thoroughly before applying primer or paint.
Dust left on the wall can affect the finish just as easily as dirt or grease.
Use Primer Where It Is Needed
Not every surface requires the same preparation.
Primer can be particularly useful on:
New plaster or plasterboard
Repaired sections
Bare timber
Stained surfaces
Dark colours being covered with lighter paint
Areas with uneven absorption
Surfaces where the previous coating has been removed
Primer helps prepare the surface for the finishing coats and can create a more even base.
Using the correct primer for the surface is important, as different materials and problems require different products.
Take Time With the Edges
Before rolling large wall areas, make sure corners, trims and edges are properly prepared.
Painter's tape can be useful in some situations, but it needs to be applied carefully to a clean, dry surface.
Poorly applied tape can allow paint underneath or pull away existing paint when it is removed.
Professional painters often rely heavily on careful brushwork, particularly around ceilings, skirting boards, windows and door frames.
Preparation Makes the Painting Easier
It can feel like preparation takes longer than the painting itself, but it usually saves time in the long run.
A room that has been properly cleared, protected, cleaned, repaired and primed is much easier to paint.
More importantly, the finished result is generally cleaner, smoother and more durable.
And if you would rather skip the furniture moving, patching, sanding and cutting-in altogether, Rob's Painting & Decorating can take care of the preparation as well as the painting.
